
What is nigiri?
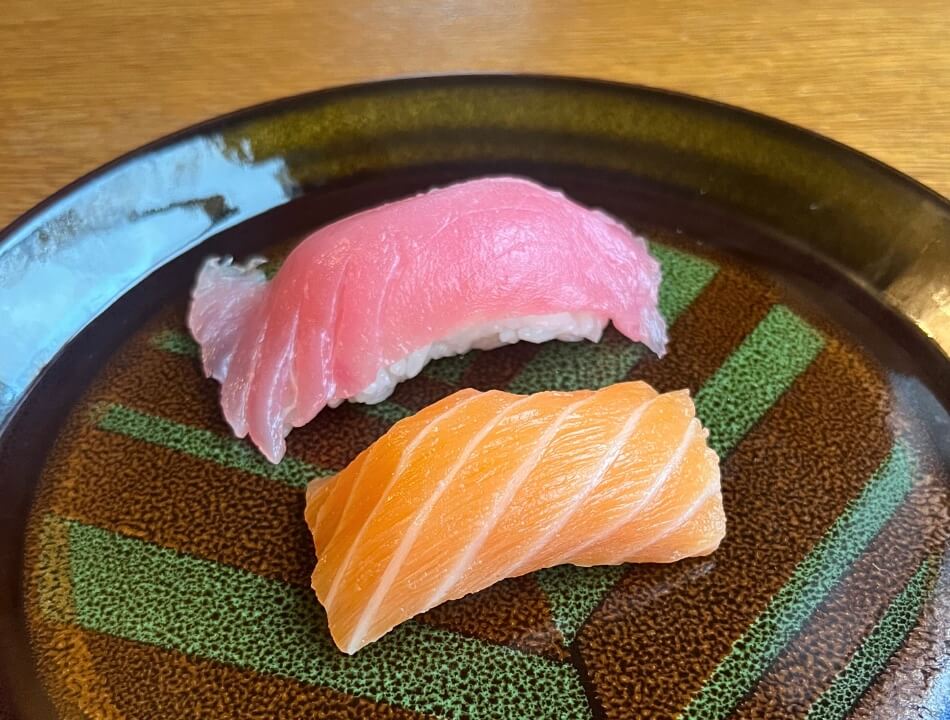
Nigirizushi, or nigiri, can be very tricky to make. Bite-sized rectangles of rice are formed and then topped with raw fish, shrimp, or even tamago which is a Japanese-style omelette.
It takes sushi chefs years to perfect the art of nigiri but that doesn’t mean that we can’t make our own delicious versions at home. They just might not look as perfectly shaped.
The history of nigiri:
Nigiri means “hand-pressed,” and dates back to the Edo period (1603-1868) in Tokyo. Street food stalls served the first version of nigiri, using fish they had marinated in soy sauce and vinegar to preserve it. However with improved refrigeration options, sushi chefs began serving nigiri with fresh fish.
Nigiri look deceptively simple to make but since there are so few elements involved, there is nowhere to hide. There is no spicy mayo to cover things up, so we must perfect each step. It takes time to get that nigiri shape that we all know and love. The key to shaping? Good sushi rice. Slicing the fish also takes practice but don’t be disheartened! As long as you use high quality ingredients, even the most misshapen nigiris will still taste good!
What rice to use for nigiri:
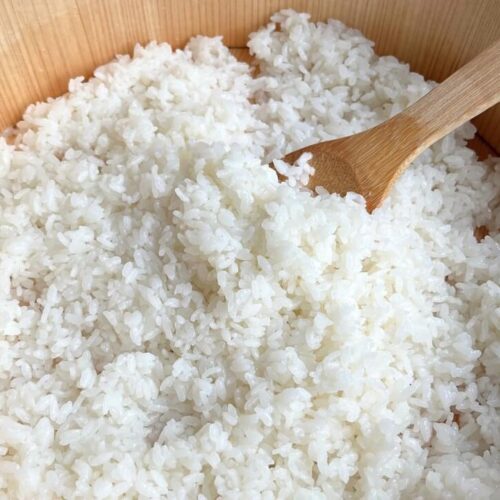
There are just 2 elements to nigiri. Rice and fish. Rice needs to hold its shape and stay together. Every grain of rice should be separate and not squashed or flattened. You should be able to see every individual grain of rice. You can read my full guide on sushi rice here with tips and techniques, and the recipe is also below.
What fish to use for nigiri:
As with all sushi, it’s important to use high-quality fresh fish such as salmon or tuna. If you don’t already have a favourite fish store, shop around your local area. My fish store lets you sample fish – I just ask for a little taste and they slice me up a little piece. I live in Montreal and La Mer has great quality fish including my favourite Ora King Salmon.
To get the best flavour from your fish, without any of the unwanted fishiness, we suggest lightly curing it.
Curing the fish:
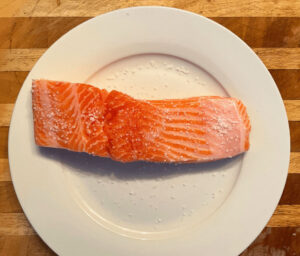
Take your fillet of fish and sprinkle it generously with large grains of kosher salt and then cover it with plastic and put it in the fridge for at least 10 minutes. I tried curing fish for 2 hours and I definitely noticed more liquid coming out compared to a quick 10-minute cure. However, both the 10-minute cure and the 2-hour cure gave delicious results. If you buy good quality fish, a quick cure works just fine.
The aim of lightly curing is to draw out excess moisture and to enhance the flavour of the fish.
After curing, wash the fish under cold cold water. Don’t use warm water as it will start to cook the fish. First wash off all of the grains of salt and then gently pat the fish dry with paper towel. Your fish is now ready to cut!
You don’t need to cure fish, but it certainly enhances the flavour and removes any unwanted fishiness.
Assembling nigiri:
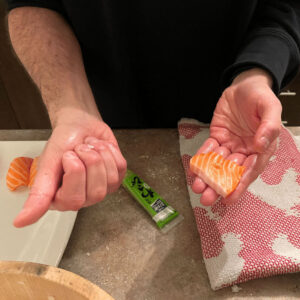
Take your piece of fish and if you are using wasabi, smear a little on the underside, the side that will rest against the rice.
Shaping the rice
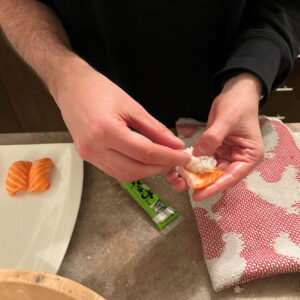
With your other hand, take a small handful of rice and start to gently press it together. Move the ball of rice around in your hand and continue to press it into shape. This stage can be a little tricky and it takes practice to get that pillow shape. You want the whole thing to hold together without squashing or making the rice gluggy. You should be able to see the individual grains of rice with little air pockets between them all.
Once you have shaped a rectangle of rice, then place it on top of your fish. If you used wasabi, the rice will be placed on top of the wasabi.
Shaping the nigiri
Flip the whole thing over and with 2 fingers, push the fish down and slowly mould it around the rice. This step takes time to perfect so don’t beat yourself up if the finished result isn’t look perfect the first time, or even the first 20 times.
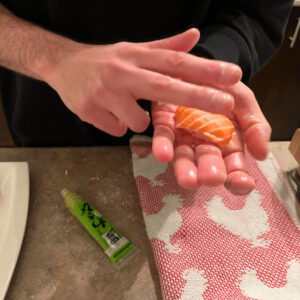
Continue to press the fish down until it wraps flush around the rice. And voila! Gobble gobble.

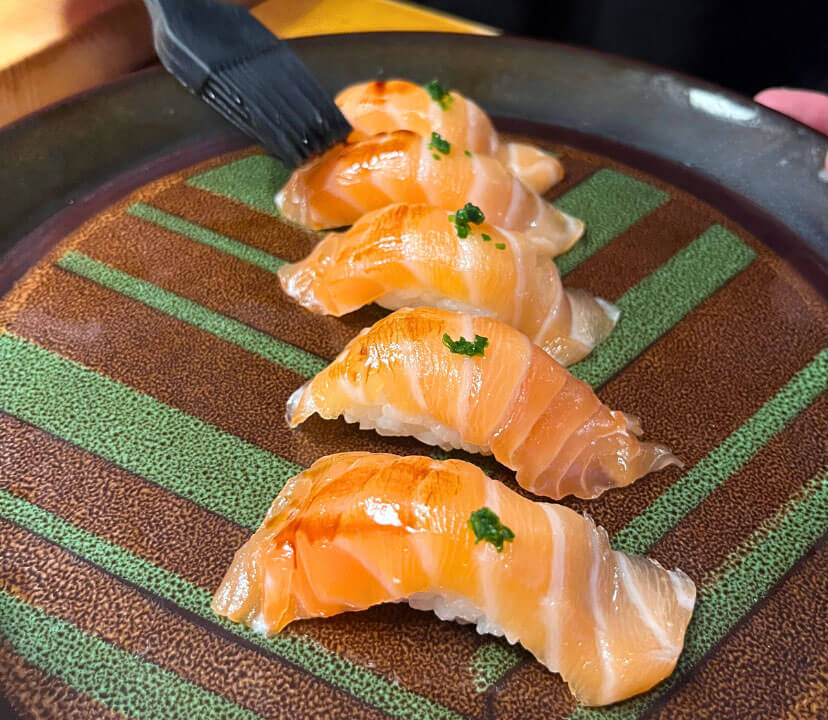
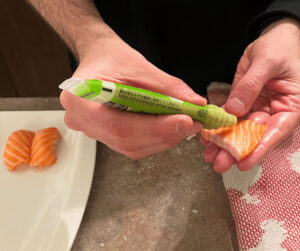
If you want to get fancy, you can even brush on a thin layer of homemade nikiri sauce. Nikiri is a sweet soy sauce and you can follow our easy-to-make recipe here. It’s simple, you can use it on all sushi, and it lasts for a few weeks in the fridge.
Sushi rice
Materials
Rice seasoning
- 4 tbsp Rice vinegar
- 2 tbsp Sugar
- 1 tsp Salt
Rice
- 2 cups Japanese short grain rice
- 2 cups Water (purified if possible)
- 2 tbsp Sake
- 1 piece Kombu (approximately 10cm x 15cm)
Instructions
Rice seasoning
- Mix all the ingredients together until the sugar and salt are dissolved. Mix it periodically as you wash, cook and steam the rice.
Wash the rice
- Add your rice to a medium saucepan or rice cooker insert and cover it with cold tap water. Swirl the rice around with your hand to release starches. The water will become milky white. Tip the water off, using your hand or a strainer, add more water and repeat the process 4-8 times until the water is pretty clear.
- Add 2 cups of water, preferably filtered, and 2 tbsp of sake (optional). Add a piece of kombu (also optional) and let the rice soak for 30 minutes. You will notice that the rice looks whiter at the end of the 30 minutes.
Cook the rice
Stove top:
- Take out the kombu and put the saucepan on the stove on medium high. Once the water comes to a boil, put the lid on, lower the heat to low and cook for 15 minutes. Do not open or stir the rice during this step.After 15 minutes, take the saucepan off the heat and let it sit with the lid still on for 20 minutes.
- Using a rice paddle or wooden spoon, gently mix your rice. Put the lid back on and let the rice steam for an additional 5 minutes.
Rice cooker
- Take out the kombu and put the insert into your rice cooker. Turn it on and let the rice cook.
- Using a rice paddle or wooden spoon, gently mix your rice. Close your rice cooker and let the rice steam for an additional 5 minutes.
Mix seasoning with rice
- Tip the rice into your hangiri, a large flat bottomed bowl or roasting pan and spread it out. Pour over the rice seasoning and gently stir it through the rice using a slicing gesture. Your aim is to cool down the rice as quickly as possible without breaking up or mashing the grains.
- Stand in front a fan, AC unit or use a hand fan as you stir the rice. This will help it cool down as quickly as possible. Keep mixing until the seasoning is mixed through and the rice looks shiny.
- Wait until the rice is cooled to room temperature before using it. You can cover the hangiri / bowl with a damp towel so it doesn't dry out.

Nigiri
Materials
- Fish, shrimp or egg
- Sushi rice
- Wasabi optional
- Nikiri sauce optional
Instructions
Curing the fish (optional)
- Take your fillet of fish and generously salt with kosher salt. Cover it with plastic and put it in the fridge for 10 minutes - 2 hours
- Take your fish out of the fridge and rinse all the salt off under cold water. Gently pat it dry with paper towel
Cutting the fish
- Slice your fish into thin nigiri fillets
Assembling the nigiri
- Take your piece of fish, or shrimp, and smear it with a small amount of wasabi (optional)
- Take a small handful of rice and start to gently press it into a rectangular shape
- Put your rice onto your fish and flip the whole thing over
- With 2 fingers, gently mould the fish around the rice
- Add a brush of nikiri sauce on top (optional)